
Concrete Moisture Testing Before Epoxy: The 3 Tests That Save Your Floor
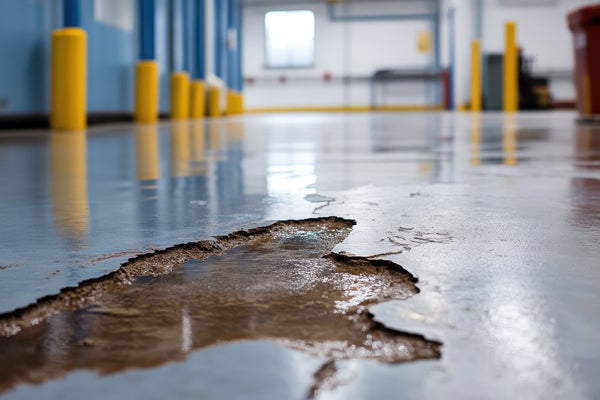
Coat a damp slab and the floor is already failing the day you roll it on. It looks perfect for a month, sometimes a season. Then vapor pressure from below starts pushing, the bond lets go, and you get blisters, milky patches, and coating that peels up in sheets. Moisture is the number one killer of epoxy floors, and it stays invisible right up until it gets expensive.
The insurance against all of that costs about as much as a tank of gas. Learning how to moisture test concrete before coating takes one afternoon of setup and a couple of days of waiting, and it tells you exactly what your slab is doing before you commit resin to it. Below are the three tests we run, in the order we run them, plus the thresholds that decide whether you coat, prime first, or stop and fix a water problem.
Why moisture ruins epoxy adhesion
Epoxy does not soak into concrete like a stain. It grips the slab mechanically, keying into the surface profile you cut during grinding. That bond is very strong in shear, but it has one weakness: it was never designed to fight pressure from underneath.
Concrete is a sponge. A slab on grade wicks ground moisture upward constantly, and that moisture exits through the top as vapor. Cap the slab with a coating and the vapor has nowhere to go. It collects at the bond line, dissolves alkaline salts in the concrete, and builds osmotic pressure that can exceed the strength of the bond itself. The failure sequence is always the same: small blisters, then bigger ones, then delamination you can peel by hand. We ranked the causes in Why Is My Epoxy Floor Peeling?, and moisture sits at the top of the list.
Here is the part most first-time installers miss: a slab can look and feel bone dry and still emit far too much vapor to coat. The surface you touch is not the story. The story is the emission rate, and the only way to know it is to test.
Test 1: The taped plastic sheet (free screening)
This is the classic screening method, standardized as ASTM D4263, and it costs almost nothing. Tape an 18 x 18 inch square of clear 4 mil plastic sheeting to bare concrete and seal all four edges completely with duct tape. A single open edge invalidates the test. Leave it for 24 hours, then peel it back and look at both the plastic and the concrete under it.
Condensation on the underside of the plastic, or concrete that has turned visibly darker, means moisture is actively moving through your slab. That is a hard stop until you quantify it with the tests below.
Know the limitation: a dry plastic sheet is not a pass. The test only catches heavy moisture movement, and vapor that escapes gradually during warm daytime hours can leave the sheet clean while the slab still emits too much to coat. Treat a wet result as a definite fail and a dry result as permission to keep testing, not permission to coat.
Test 2: The calcium chloride test and the 3 lb number
This is the workhorse, standardized as ASTM F1869. A small dish of anhydrous calcium chloride salt sits sealed under a plastic dome on your slab and absorbs whatever moisture the concrete emits. Weigh it before and after, run the numbers, and you get the slab's moisture vapor emission rate, or MVER, in pounds of water per 1,000 sq ft per 24 hours. That number is the language every coating spec sheet speaks.
- Buy enough kits. The standard calls for three tests for the first 1,000 sq ft and one more for each additional 1,000 sq ft. Kits are sold online and at flooring suppliers for roughly the cost of a pizza each. A typical two-car garage needs three.
- Prep each test spot 24 hours ahead. Grind or sand a patch about 20 x 20 inches down to clean bare concrete, removing any sealer, old coating, or curing compound. Emission readings through a sealer are worthless. Let the exposed spot sit open for 24 hours before starting.
- Bring the room to service conditions. The space should be at the temperature and humidity it will live at, ideally 65 to 85 F, for 48 hours before and during the test. Testing a garage in mild spring weather and coating in August humidity is how good readings turn into bad floors.
- Start the test. Record the dish's starting weight from the label or your own gram scale, note the date and time to the minute, open the dish, set it on the concrete, and seal the plastic dome over it tight to the floor.
- Wait 60 to 72 hours. Do not lift the dome to peek. Breaking the seal ends the test.
- Weigh and calculate. Reweigh the dish, note the exact elapsed time, and feed the weight gain and hours into the formula or calculator included with the kit. The output is your MVER.
The threshold: 3 lbs per 1,000 sq ft per 24 hours. That is the long-standing industry limit for coating concrete with standard epoxy systems. At or under 3 lbs, the slab is emitting slowly enough for a properly prepped epoxy to live a full life. Over 3 lbs, an unprimed coating is a countdown timer.
Test 3: Relative humidity probes (ASTM F2170)
The calcium chloride test reads what the top inch or so of the slab is doing right now. In-situ relative humidity probes, standardized as ASTM F2170, read what the whole slab will do later, which is why commercial specs increasingly require them.
The method: drill a hole to 40 percent of the slab's depth (for a slab drying from the top only), vacuum it clean, insert the lined sleeve, cap it, and let it equilibrate for 24 hours before reading with the meter. The probe reports the internal relative humidity deep in the slab, the moisture that has not reached the surface yet.
Most coating manufacturers set the limit between 75 and 80 percent internal RH. A slab can pass calcium chloride at the surface and still carry 90 percent RH at depth, meaning the emission rate will climb after you coat. On new construction, fast-track schedules, or any slab with a history of failures, run both tests. On a 20-year-old garage slab, calcium chloride alone is usually enough.
What your results mean
| YOUR READING | WHAT IT MEANS | YOUR MOVE |
| Under 3 lbs MVER and under 75% RH | Slab is coatable with a standard system | Proceed to grinding and coat |
| 3 to 25 lbs MVER, or 75 to 90% RH | Too much vapor for bare epoxy, manageable with a barrier primer | Install a moisture vapor barrier coat first, then build the system on top |
| Over 25 lbs MVER, visible dampness, or standing water | Active water problem, not a coating problem | Fix drainage, grading, or hydrostatic pressure before any coating |
The decision path
- Pass both tests: you are clear to prep and coat. Move straight to mechanical prep, which matters even more than moisture. Our guide to preparing concrete for epoxy covers the grinding step most installers get wrong.
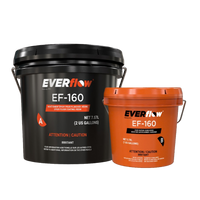
- Fail in the 3 to 25 lb range: this is exactly what a moisture vapor barrier primer exists for. It is a specialized 100 percent solids epoxy that caps the slab and lets the rest of the system bond to it instead of to a vapor-emitting surface. We explain how the product class works in What Is a Moisture Vapor Barrier?. The one we carry for this job is Everflow EF-160, rated for emission rates up to 25 lbs per 1,000 sq ft per 24 hours, exceeding the ASTM F3010 permeance standard at 18 mils, with a 3-gallon kit covering about 264 sq ft. Prime with it, let it cure, then build your floor on top as if the moisture problem never existed.
- Fail above 25 lbs or see liquid water: no coating fixes this, including a vapor barrier. Water is reaching the slab faster than any product can hold back. Look at gutters, downspouts, grading, and irrigation around the slab, correct the source, then retest.
When you can simply proceed
Not every slab needs the full battery. If your slab is above grade over a ventilated space, or you know a poly vapor barrier was installed under it and the plastic sheet test comes back clean, your risk is genuinely low. Same for an interior slab that carried a previous coating for years with zero blistering, since that old floor was itself a long-running moisture test.
Everything else, test. Slab on grade with unknown history, any garage in a humid climate, any floor that has peeled before, any new pour, and every basement. Sixty dollars of testing against several hundred dollars of resin and a weekend of labor is the easiest math in flooring. Once you pass, size your material with our epoxy coverage guide and get rolling.
Frequently asked questions
Can I just use a handheld moisture meter instead?
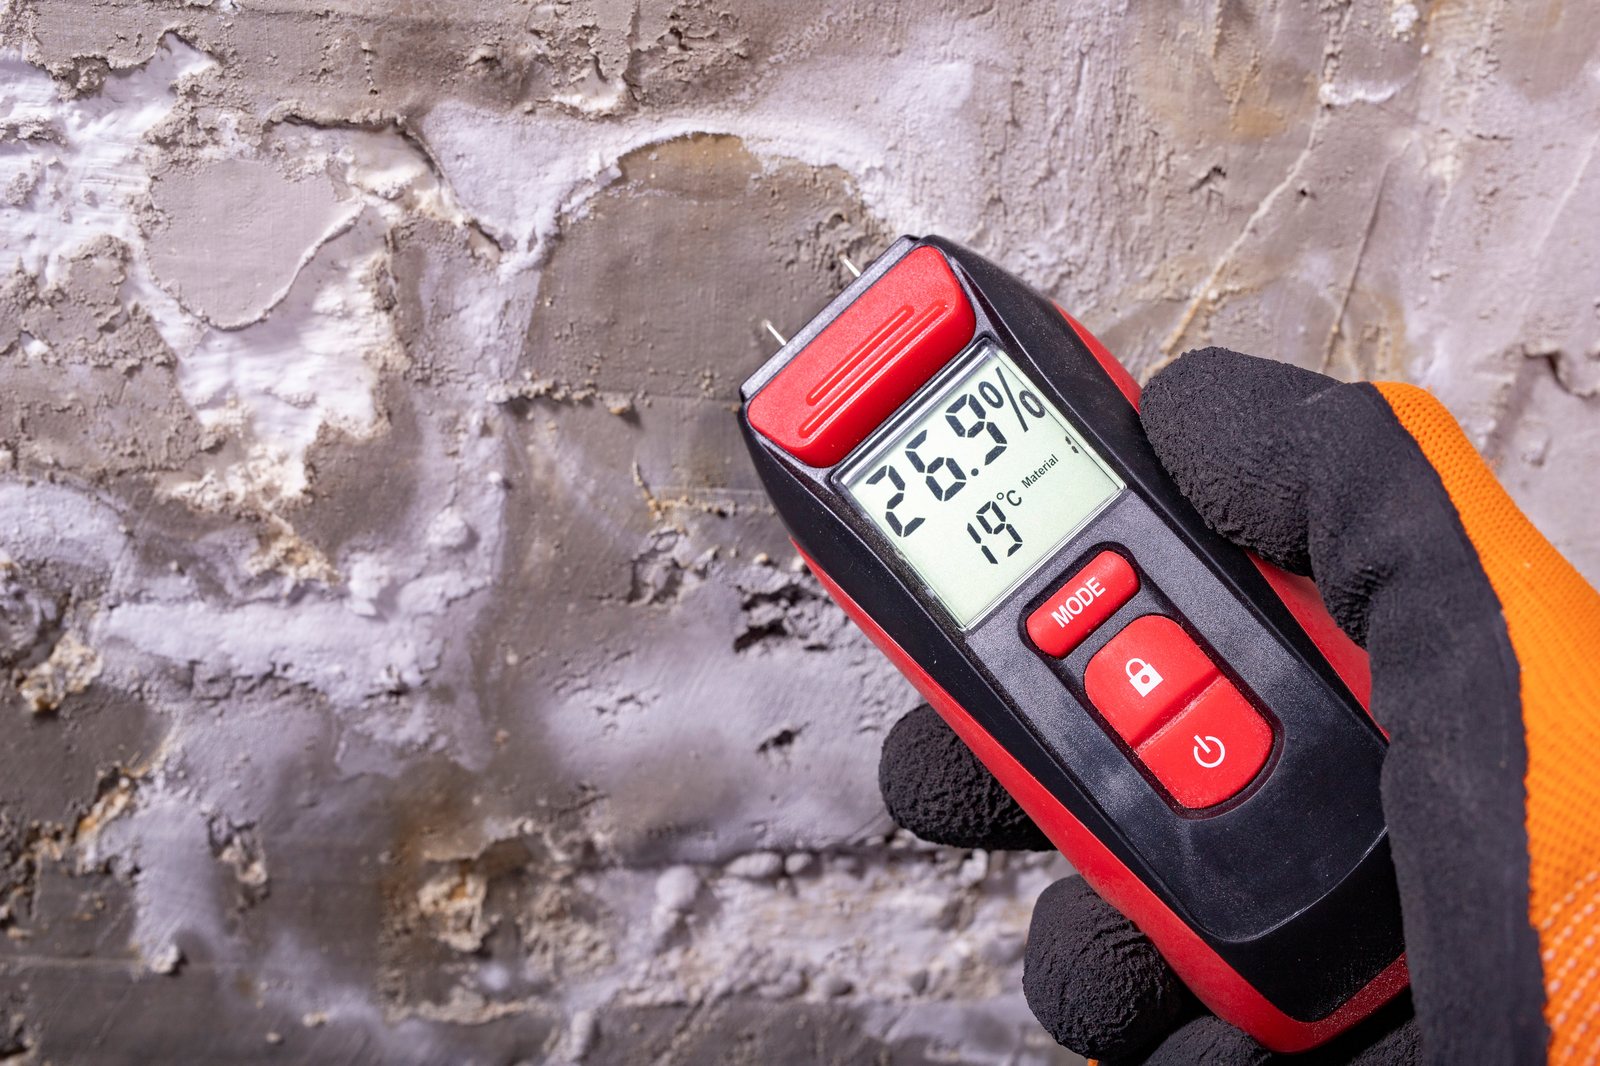
No. Pin and pinless meters read relative surface moisture and are useful for spotting wet areas worth testing, but they do not measure emission rate and no coating manufacturer accepts them as a basis for application. Use a meter to scout, then confirm with calcium chloride or RH probes.
How long should new concrete cure before testing and coating?
Give a new pour at least 28 days before coating with a standard epoxy, then test anyway. Age is not a guarantee: plenty of 30-year-old slabs fail the calcium chloride test because they were poured without a vapor barrier underneath.
What time of year should I run the test?
Test under the same temperature and humidity the floor will see in service, and when in doubt, test during the more humid season. A reading taken in dry winter air can understate what the slab does in summer, which is exactly when moisture failures show up.
My floor already peeled once. Do I need to test before recoating?
Absolutely, and it is the first thing to do after removing the failed coating. Peeling with moisture, rust-colored staining, or white crystalline residue under the old film points to vapor drive, and recoating without a moisture vapor barrier just schedules the same failure twice.
KEEP READING
More guides from the Latux pros
Knowledge that builds better floors.
Browse the full library of contractor guides, how-tos, and product insights.